A mobile game subscription signed up on a Sunday evening. A free trial of a meditation app that quietly turned into a monthly charge. An iCloud+ or Google One renewal you'd completely forgotten about. In-app subscriptions — signed up through Apple's App Store or Google Play — are the easiest to forget, because they never appear in a single dashboard and because their label on your bank statement is deliberately generic. The result: the average iPhone user pays 2 to 4 dormant in-app subscriptions every month. Here's the full method to track them all down and stop the ones that no longer make sense.
1. Why these subscriptions are so hard to spot
When you subscribe to Duolingo Plus from the mobile app, it isn't Duolingo that charges you — it's Apple or Google taking the payment, keeping a commission of up to 30%, and passing the rest to the publisher. So on your bank statement, you won't see "Duolingo" but a neutral label like APPLE.COM/BILL or GOOGLE *DUOLINGO.
- On the Apple side: nearly always "APPLE.COM/BILL" followed by an internal code — impossible to tell which app is involved without digging.
- On the Google side: the publisher name sometimes shows up ("GOOGLE *SPOTIFY"), but not always ("GOOGLE *YOUTUBE" could be YouTube Premium, YouTube TV or YouTube Music).
- Varying frequencies: monthly, yearly, weekly. A weekly £4.99 subscription slips under the radar — until you add up 52 weeks, close to £260 a year.
2. Where to see the full list of your iPhone subscriptions
Good news: Apple centralises everything. Two paths — one from the iPhone, one from a computer.
2.1 From your iPhone or iPad
- Open Settings.
- Tap your name at the top.
- Tap Subscriptions.
You'll get a list of active subscriptions, trials in progress, and past subscription history. To cancel: tap the subscription, then "Cancel Subscription".
2.2 From a computer
Go to reportaproblem.apple.com, sign in with your Apple ID, then click "Subscriptions" in the menu. Same behaviour.
3. Where to see the full list of your Android subscriptions
Google Play has its own management screen, separate from the system settings.
- Open the Google Play Store app.
- Tap your avatar in the top right.
- Choose Payments & subscriptions, then Subscriptions.
From a computer: head to play.google.com/store/account/subscriptions (signed in with the same Google account as your phone). You'll see active subscriptions, ongoing trials and the next billing date. A "Cancel subscription" button sits on every row.
4. Cross-check with the bank statement: the only reliable method
Apple and Google's screens only show subscriptions that are active right now. If you've forgotten a secondary iCloud account, an old Apple ID a child used, or a subscription signed up on another platform, they simply won't appear.
The only method that guarantees you'll see everything is to start from your bank statement. Look for these labels over the past 12 months:
- APPLE.COM/BILL — Apple (App Store, iTunes, iCloud+, Apple TV+, Apple Music, Apple Arcade, Apple One).
- GOOGLE *… — Google Play (Google One, YouTube Premium, YouTube Music, third-party apps).
- ITUNES.COM/BILL — historic Apple variant, still visible on older subscriptions.
For every charge, note the date, amount and frequency. Then match each line to the Subscriptions screen on iPhone and Android. Whatever's left without a match is a hidden subscription on your bank statement worth investigating — often tied to a shared account or an old Apple/Google ID.
5. Cancel cleanly: 3 pitfalls to avoid
5.1 Cancelling too early = losing access immediately
On both iOS and Android, cancelling stops the renewal but you keep access until the end of the paid period. Cancelling the day after a yearly payment means giving up 11 months of use — but it also guarantees the charge won't come back next year. Timing matters.
5.2 Deleting the app cancels nothing
Removing Duolingo from your iPhone does not cancel Duolingo Plus. The charge keeps coming each month. It's the most common mistake: you have to go through the Apple or Google screens, not the phone's trash.
5.3 Resubscribing "just to test" during a free trial
Free trials convert to a paid subscription on the exact day they end. Put the end date in your calendar the moment you sign up — or better, cancel right away. You keep access for the full trial length, without the charge at the end.
6. Sort them out: keep, downgrade, remove
Once you have the full list, apply a simple test to each subscription: "Have I used it at least 4 times this month?" If not, two options: move to a cheaper plan (Apple Music family plan shared across five, YouTube Premium instead of the Family tier, etc.) or cancel the unused subscription cleanly and reactivate it later if the need comes back.
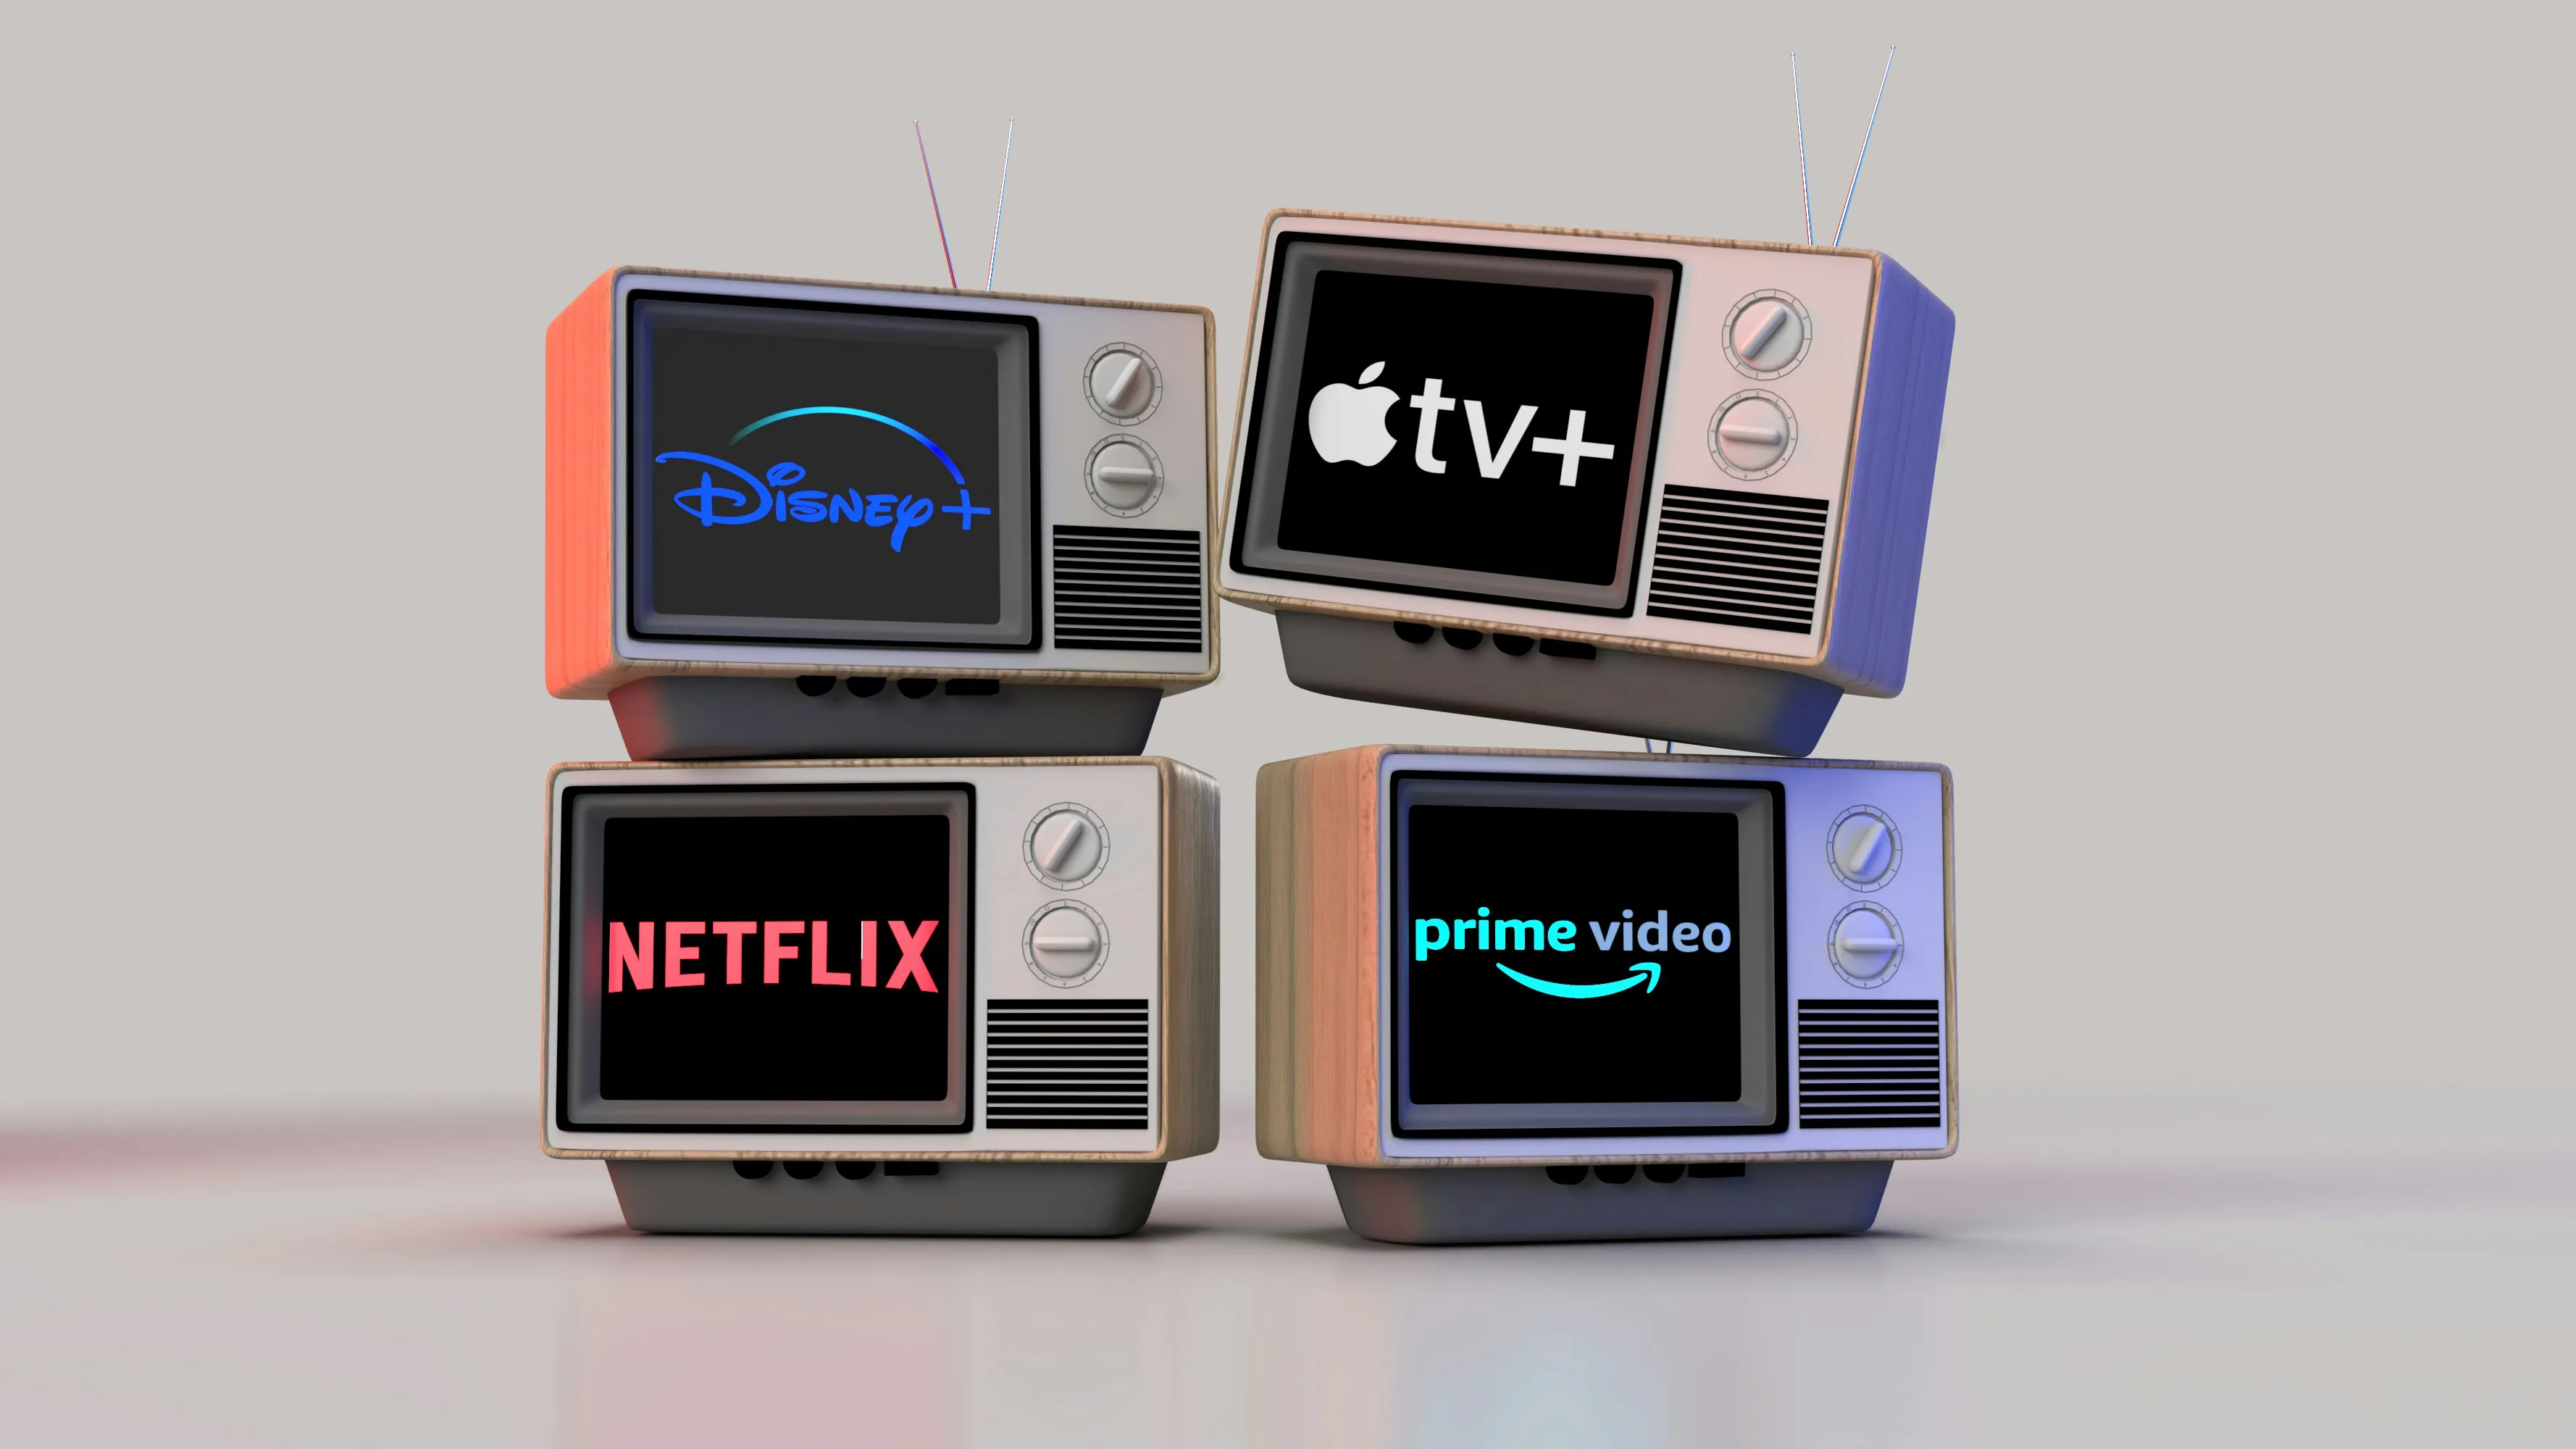
For streaming in particular, our guide to smart strategies for cutting streaming subscriptions shows how to rotate between Netflix, Disney+ and Prime Video without ever paying for all three at once.
7. Take action today
Three screens to open today: Settings → Subscriptions (iPhone), Play Store → Subscriptions (Android), your banking app (search "APPLE" and "GOOGLE"). The sort takes 15 minutes and often frees up £10 to £40 per month, up to £480 a year for a well-equipped household. Scan for free your bank statement to spot every Apple and Google charge of the past 12 months at once, including those tied to old accounts you'd forgotten.
Conclusion
In-app subscriptions are engineered to be invisible on your bank statement. Once you know the three paths (Apple screen, Google screen, bank statement), nothing escapes the cleanup. To go further, check out our guide to identifying and reducing bank fees fast — that's the second place where money quietly evaporates without you noticing.